作成開始 : 平成20年07月26日(土) 最終更新 : 平成20年08月02日(土)
Apache2 と mod_ssl を試す。
メインのサーバー機を Compaq Armada 1592DMT にしようと環境構築しました。
この際なのでインストールするアプリケーションを新しくしようと思いました。Samba
のインストールが済んだので次はやっぱり Apache でしょうw。
そこで、Apache2 と mod_ssl を組み込んでみました。
openssl は FreeBSD標準でインストールされているものを使います。(OSインストール時にソースもインストールしています)
全てソースからのインストールです。
1.Apache のインストール
(1)インストールするファイルの準備
JAPAN APACHE USERS GROUP から httpd-2.0.63.tar.gz (約5.8Mbyte) をWindows PC に ダウンロードしました。
2.xにはデフォルトでmod_sslのモジュールやdavモジュールついているとのことです。
(2)Apacheの実行ユーザ作成
Apache の実行ユーザ www と グループ www を作成します。
これを httpd.conf の Group , User に記載します。そうすると例えば top で見た時やCGIで作成されたファイルなんかは ユーザ www になります。
groupadd とか useradd のコマンド操作すればよいでしょうが、私は sysinstall から実行しました。
/etc/group -> www:*:1003:
/etc/passwd -> www:*:1003:1003:User & Apache User:/home/www:/bin/sh
(3)サーバーへソースファイルのアップデート
FTP Client ソフトを使い FTP でバイナリ転送をしました。
転送先は /home/takaq です。
そして、TTSSH でログインしファイルを /usr/local/src へ mv しました。
(4)ソースの展開
カレントディレクトリを /usr/local/src へ移動します。そして、次を実行します。
tar zxvf httpd-2.0.63.tar.gz
(5)インストール
カレントディレクトリを /usr/local/src/httpd-2.0.63 に移動し次ぎを実行します。
./configure --enable-dav --enable-dav-fs --enable-rewrite --enable-ssl --enable-so --with-mpm=worker --with-ssl=/usr/local/ssl
注. /usr/local/ssl はあらかじめディレクトリを作っておく必要があるようです。
そうしないと Configure が正しく終わらず Makefile が作成されないので make すると make not option とかになります。
↓
後で気づきました。--with-ssl=/usr/local/ssl は openssl 0.9.7d を以下のオプションでインストールした場合です。
今回 openssl 0.9.7 はインストールしてないのでうまくいくかわからないけど続けました。
作業ディレクトリは /usr/local/src
# tar zxvf openssl-0.9.7d.tar.gz
# cd openssl-0.9.7d
# ./configure
# make
# make install
make
make install
(6)実行の確認
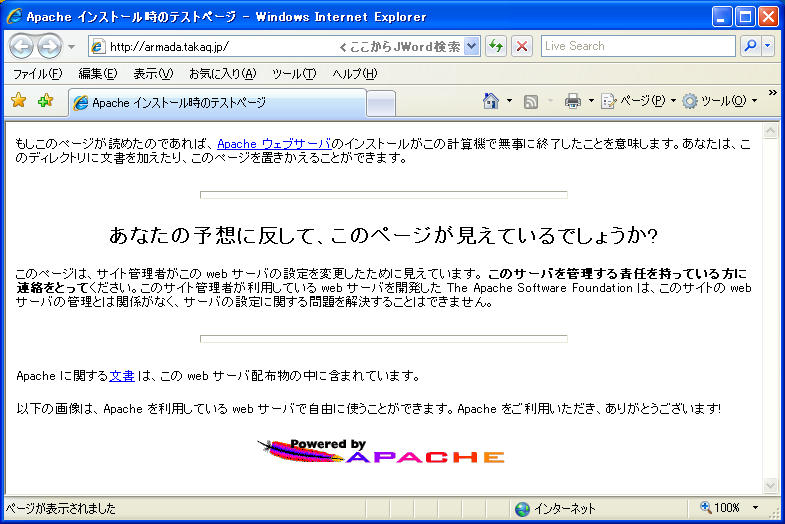
とりあえず make install が終わったら Apache が起動するか確認します。
sh /usr/local/apache2/bin/apachectl start としたらブラウザ(IEやFireFox) http://server IP / とします。
Apache2.0系なので例によって下のが見えていたらOKです。
確認できたら で一旦停止してインストール後の調整をしましょう。まぁ後で restart でもいいんですけどね。
sh /usr/local/apache2/bin/apachectl stop
(7)組み込みモジュールの確認
/usr/local/apache2/bin/httpd -l で確認します。
core.c
mod_access.c
mod_auth.c
mod_include.c
mod_log_config.c
mod_env.c
mod_setenvif.c
mod_ssl.c
prefork.c
http_core.c
mod_mime.c
mod_dav.c
mod_status.c
mod_autoindex.c
mod_asis.c
mod_cgi.c
mod_dav_fs.c
mod_negotiation.c
mod_dir.c
mod_imap.c
mod_actions.c
mod_userdir.c
mod_alias.c
mod_rewrite.c
mod_so.c
2.Apache2 インストール後の調整
/usr/local/apache2/conf/httpd.conf を調整します。とりあえず基本的な部分と当サイト固有部分です。
User nobody -> User www
Group #-1 -> Group www
ServerAdmin you@example.com -> ServerAdmin takaq@takaq1.plala.jp
#ServerName www.example.com:80 -> ServerName Armada.takaq.jp:80
DocumentRoot "/usr/local/apache2/htdocs" -> DocumentRoot "/usr3/httpd/html"
<Directory "/usr/local/apache2/htdocs"> -> <Directory "/usr3/httpd/html">
Options Indexes FollowSymLinks -> Options FollowSymLinks
Indexes にしておくとディレクトリインデックスが見えてしまいます。
意図的に見せたい時はディレクトリやファイルのパーミッションをしっかり管理しないと中身見られたり改ざんされたりします。
以下 Indexes は全てリマークしました。
AllowOverride None -> AllowOverride Options
User Dyrectory と User でのCGI実行を追加 -> 私のサイトで User 設定があるため。
DirectoryIndex index.html index.html.var -> DirectoryIndex index.html index.htm ndex.html.var
HostnameLookups Off -> HostnameLookups On
ErrorLog logs/error_log -> ErrorLog /var/log/httpd-error.log
LogFormat "%h %l %u %t \"%r\" %>s %b" common -> LogFormat "%{X-Forwarded-For}i %l %u %t \"%r\" %>s %b" common
これは delegate でリモートホストを取得したいためです。
CustomLog logs/access_log common -> CustomLog /var/log/httpd-access.log common
#AddHandler cgi-script .cgi -> AddHandler cgi-script .cgi .pl
#AddType text/html .shtml -> AddType text/html .shtml
#AddOutputFilter INCLUDES .shtml -> AddOutputFilter INCLUDES .shtml
設定が間違っていないか sh /usr/local/apache2/bin/apachectl configtest としてみます。
Syntax OK と返ってきたら OK です。
とりあえずここまでにして SSL 化しました。
3.SSL化の作業
(1)事前準備
・各キーや証明書を作成するためのランダムデータを作成しておきます。
openssl rand -rand /usr/local/apache2/conf/httpd-std.conf -out /var/tmp/.rnd 1024
35058 semi-random bytes loaded が返ってきます。
※/usr/local/apache2/conf/httpd-std.confの部分はある程度大きめな容量のテキストファイルを指定します。
※これをしないと各キーや証明書の作成で次を表示します。
warning, not much extra random data, consider using the -rand option
・カレントディレクトリを cd /usr/local/ssl で移動します。
・opensslの demoCA を コピーします。
cp -r /usr/src/crypto/openssl/apps/demoCA /usr/local/ssl/CA
openssl-0.9.7dをインストールした場合は cp -r /usr/local/src/openssl-0.9.7d/apps/demoCA /usr/local/ssl/CAです。
・/usr/local/ssl/CA のパーミッションを他のユーザから見えないようにします。
chmod 700 CA
・cd CA で /usr/local/ssl/CA へ移動します。
・CAの証明書 (cacert.pem) のバックアップを保存します。
mv cacert.pem cacert.pem.org
・cd private で /usr/local/ssl/CA/private へ移動します。
・CAの秘密鍵 (cakey.pem)のバックアップを保存します。
mv cakey.pem cakey.pem.org
・openssl.cnf を /usr/local/ssl/CA へコピーします。
cp /etc/ssl/openssl.cnf /usr/local/ssl/CA
openssl-0.9.7dをインストールした場合は cp /usr/local/ssl/openssl.cnf /usr/local/ssl/CA です。
・cd ../ で /usr/local/ssl/CA へ移動します。
・vi エディタで openssl.cnf の dir=./demoCA から dir=/usr/local/ssl/CA に変更します。
(2)プライベートCAのCAキー(秘密鍵)作成
・cd private で /usr/local/ssl/CA/private へ移動します。
・鍵を作成します。
openssl genrsa -des3 -out cakey.pem 1024
Generating RSA private key, 1024 bit long modulus
............................++++++
.......++++++
e is 65537 (0x10001)
Enter PEM pass phrase:パスフレーズ入力
Verifying password - Enter PEM pass phrase:パスフレーズの確認入力
(3)プライベートCAの証明書作成
・ cd ../ で /usr/local/ssl/CA へ移動します。
・openssl req -days 1825 -new -x509 -key private/cakey.pem -out cacert.pem で証明書を作成します。
有効期間を 5年 にしたかったので -days 1825 にしておきました。
Using configuration from /etc/ssl/openssl.cnf
Enter PEM pass phrase:パスフレーズ入力
You are about to be asked to enter information that will be incorporated
into your certificate request.
What you are about to enter is what is called a Distinguished Name or a DN.
There are quite a few fields but you can leave some blank
For some fields there will be a default value,
If you enter '.', the field will be left blank.
-----
Country Name (2 letter code) [AU]:JP
State or Province Name (full name) [Some-State]:Miyagi
Locality Name (eg, city) []:Sendai
Organization Name (eg, company) [Internet Widgits Pty Ltd]:takaq CA.inc
Organizational Unit Name (eg, section) []:
Common Name (eg, YOUR name) []:takaq CA
Email Address []:takaq@takaq1.plala.jp
(4)サーバーキーの作成
カレントディレクトリはまだ /usr/local/ssl/CA です。
・openssl genrsa -des3 -rand /var/tmp/ -out /usr/local/ssl/takaq-key.pem 1024 で鍵を作成します。
512 semi-random bytes loaded
Generating RSA private key, 1024 bit long modulus
..............++++++
..++++++
e is 65537 (0x10001)
Enter PEM pass phrase:パスフレーズ入力
Verifying password - Enter PEM pass phrase:パスフレーズの確認入力
apapcheをssl化すると毎回プロセスの起動時にパスワード入力を求められます。
これが面倒な人はパスワード入力なしで起動するために以下の作業をしておきます。
・openssl rsa -in /usr/local/ssl/takaq-key.pem -out /usr/local/ssl/takaq-key.pem
read RSA key
Enter PEM pass phrase:パスフレーズ入力
writing RSA key
(5)CA局に送る CSR証明書署名リクエストの作成
カレントディレクトリはまだ /usr/local/ssl/CA です。
・openssl req -new -key /usr/local/ssl/takaq-key.pem -out takaq-csr.pem でCSR証明書署名リクエストを作成します。
Using configuration from /etc/ssl/openssl.cnf
Enter PEM pass phrase:パスフレーズ入力
You are about to be asked to enter information that will be incorporated
into your certificate request.
What you are about to enter is what is called a Distinguished Name or a DN.
There are quite a few fields but you can leave some blank
For some fields there will be a default value,
If you enter '.', the field will be left blank.
-----
Country Name (2 letter code) [AU]:JP
State or Province Name (full name) [Some-State]:Miyagi
Locality Name (eg, city) []:Sendai
Organization Name (eg, company) [Internet Widgits Pty Ltd]:Communication Society
Organizational Unit Name (eg, section) []:Webserver Team
Common Name (eg, YOUR name) []:takaq1.plala.jp
Email Address []:takaq@takaq1.plala.jp
Please enter the following 'extra' attributes
to be sent with your certificate request
A challenge password []:takaq1
An optional company name []:takaq1
(6)CSRを署名してサーバー証明書を作成
カレントディレクトリはまだ /usr/local/ssl/CA です。
・mkdir newcerts でディレクトリを作成します。これがないとエラーになります。
・openssl ca -config ./openssl.cnf -policy policy_anything -in takaq-csr.pem -out takaq-cert.pem で作成します。
有効期間を 3年 にしたかったので /usr/local/ssl/CA/openssl.cnf の default_days = 1095 にしておきました。
Using configuration from ./openssl.cnf
Enter PEM pass phrase:パスフレーズ入力
Check that the request matches the signature
Signature ok
The Subjects Distinguished Name is as follows
countryName :PRINTABLE:'JP'
stateOrProvinceName :PRINTABLE:'Miyagi'
localityName :PRINTABLE:'Sendai'
organizationName :PRINTABLE:'Communication Society'
organizationalUnitName:PRINTABLE:'Webserver Team'
commonName :PRINTABLE:'takaq1.plala.jp'
emailAddress :IA5STRING:'takaq@takaq1.plala.jp'
Certificate is to be certified until Jul 29 13:29:21 2011 GMT (1095 days)
Sign the certificate? [y/n]:y
1 out of 1 certificate requests certified, commit? [y/n]y
Write out database with 1 new entries
Data Base Updated
(7)ルート証明書配布の準備
CAの証明書をあらかじめInternetExplorerやFirefoxに組み込むようにするためCAのCRT(公開鍵)を形式変更しておきます。
カレントディレクトリはまだ /usr/local/ssl/CA です。
IE 、Firefox に組み込み可能な DER形式 に変換します。
・ openssl x509 -in cacert.pem -outform der -out cacert.der
IEに組み込み可能な pkcs12形式には次により変換します。
・ openssl pkcs12 -export -inkey private/cakey.pem -in cacert.pem -out cacert.p12
Enter PEM pass phrase:パスフレーズ入力
Enter Export Password:パスワード入力
Verifying password - Enter Export Password:パスワードの確認入力
作成したルート証明書を Webサーバー で公開するには以下を /usr/local/apache2/conf/ssl.conf に追加します。
・・・・ってディフォルトでついてました。
AddType application/x-x509-ca-cert .crt
AddType application/x-pkcs7-crl .crl
ブラウザへのインポートは後で解説します。
(8)SSL化のための設定
/usr/local/apache2/conf/httpd.conf に記述してもいいですが。基本にのっとり /usr/local/apache2/conf/ssl.conf をもとに設定します。
以下は当サイト用の変更箇所です。
<IfDefine SSL>ディレクティブ内
<VirtualHost _default_:443>ディレクティブ
DocumentRoot "/usr/local/apache2/htdocs" -> DocumentRoot "/usr3/httpd/ssl_top"
ServerName www.example.com:443 -> ServerName takaq1.plala.jp:443
ServerAdmin you@example.com -> ServerAdmin takaq@takaq1.plala.jp
ErrorLog /usr/local/apache2/logs/error_log -> ErrorLog /var/log/httpd-error.log
TransferLog /usr/local/apache2/logs/access_log -> TransferLog /var/log/httpd-access.log
SSLCertificateFile /usr/local/apache2/conf/ssl.crt/server.crt
↓
SSLCertificateFile /usr/local/apache2/conf/ssl.crt/takaq-cert.pem
SSLCertificateKeyFile /usr/local/apache2/conf/ssl.key/server.key
↓
SSLCertificateKeyFile /usr/local/apache2/conf/ssl.key/takaq-key.pem
AddHandler cgi-script .cgi .pl -> 追加 (SSLのとこでもCGI実行したい)
次によりSSL化のためのファイルをコピー
カレントディレクトリはまだ /usr/local/ssl/CA です。
mkdir /usr/local/apache2/conf/ssl.crt
cp takaq-cert.pem /usr/local/apache2/conf/ssl.crt
mkdir /usr/local/apache2/conf/ssl.key
cp ../takaq-key.pem /usr/local/apache2/conf/ssl.key
(9)実行のテスト
とりあえず、テスト用の index.html を作って /usr3/httpd/ssl_top におきます。
そして、sh /usr/local/apache2/bin/apachectl startssl として起動します。
ブラウザから https://Server IP/ とします。・・・・・・・・・・ところが!
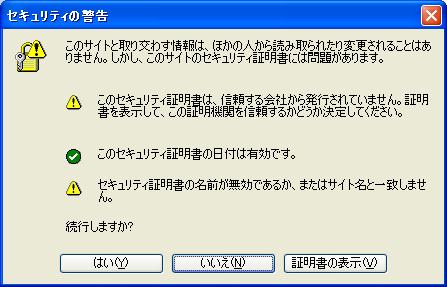
IE6だと次のようなの表示するけど「はい」を選択すると右下に鍵のマークを表示して一応SSLなページを表示します。
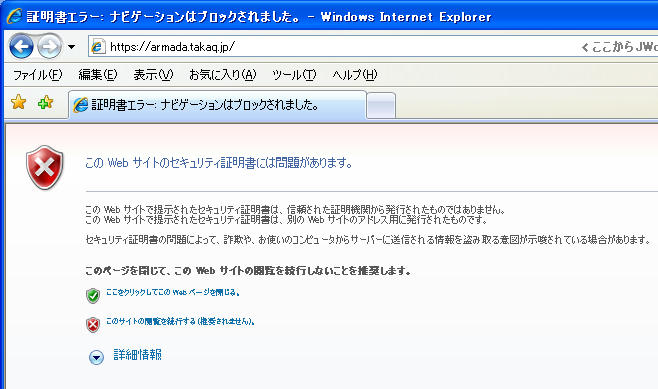
IE7ではセキュリティが強化されているため次のような感じになってしまいます。
↑
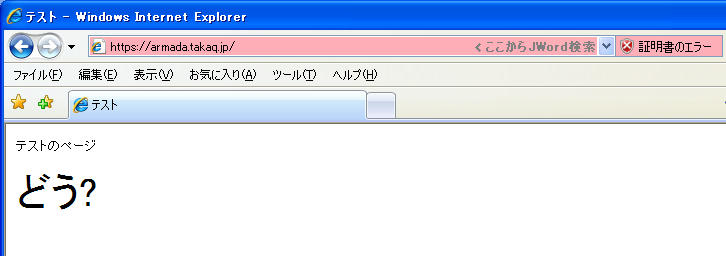
赤マークの「このサイトの閲覧を続行する (推奨されません)。 」をクリックすると。
↑
一応ページは表示するけど「証明書のエラー」になってしまいます。
「信頼されたルート証明機関」に作成したCAのルート証明書をインポートしなければいけないようです。
↑
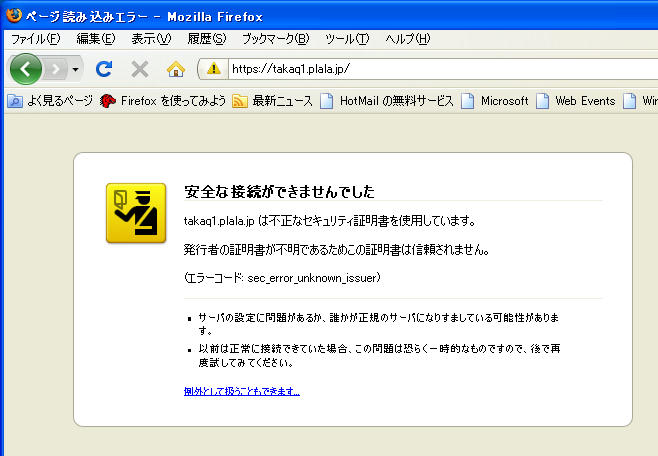
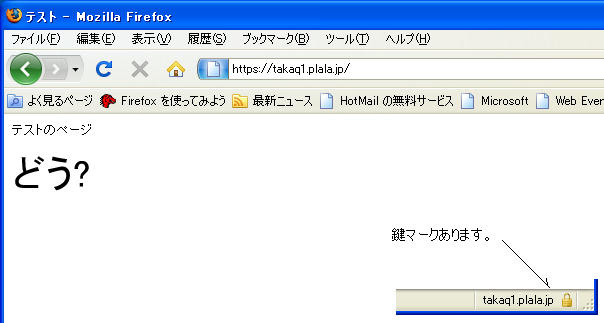
Firefoxだとこうなります。「例外として扱うこともできます」をクリックすると。
↑
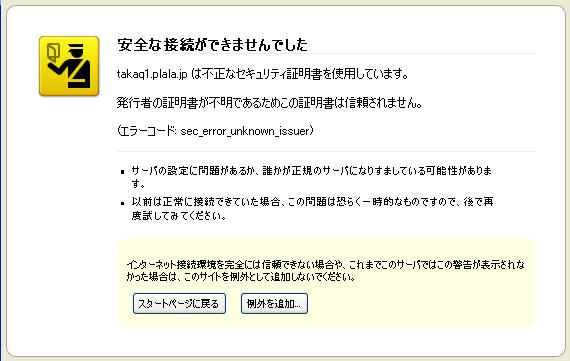
こんなんなって「例外を追加」とすると。
↑
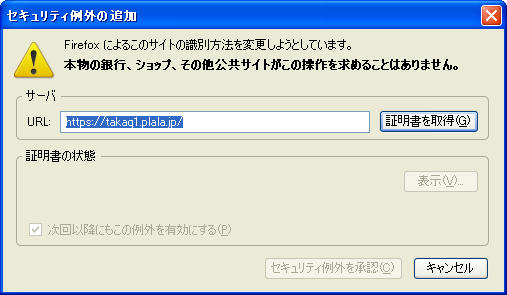
「証明書を取得」をクリックします。
↑
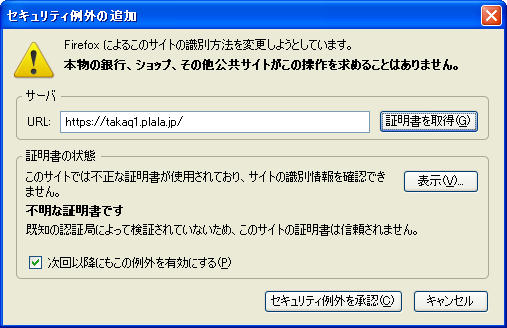
「セキュリティ例外を承認」をクリック!
↑
するとこうなります。とりあえず表示します。取得したのは「サーバー証明書」ですね。
ツール→オプション→証明書を表示 とすると次のようになります。・・・がこれではいけないですね。
では、ルート証明書をインポートしてみましょう。
「ルート証明書」のインポートはここをクリックしてください。
「ルート証明書」をインポートすると・・・・・・・・・・・・
↑
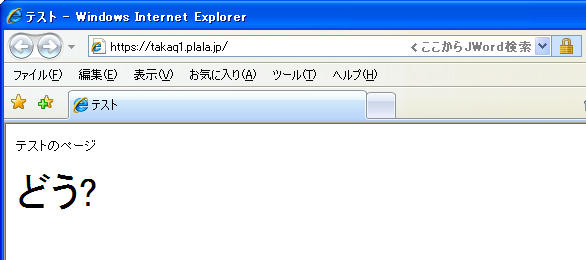
IE7 です。右上に「鍵」マークが見えますね。
↑
Firefox です。
4.Apache2 の自動起動
次のようなファイルを作成しファイル名をapache2.shとして /usr/local/etc/rc.d に置きました。
そして、パーミッションを chmod 755 apache2.sh としました。
#!/bin/sh
case "$1" in
start)
[ -x /usr/local/apache2/bin/apachectl ] && /usr/local/apache2/bin/apachectl startssl > /dev/null && echo -n ' apache2 start'
;;
stop)
[ -r /usr/local/apache2/logs/httpd.pid ] && /usr/local/apache2/bin/apachectl stop > /dev/null && echo -n ' apache2 stop'
;;
*)
echo "Usage: `basename $0` {startssl|stop}" >&2
;;
esac
exit 0
リブートする前にシェルが正しいかどうか確認しました。
スタート → # sh /usr/local/etc/rc.d/apache2.sh start[Enter]
ストップ → # sh /usr/local/etc/rc.d/apache2.sh stop
そして、サーバーをリブートしクライアントPCから確認しました。
5.全体的な動作の確認
後は、自身で設定した httpd.conf や ssl.conf のとおりに動作するか確認ですね。
【戻る】
![]()